Hickory is one of my favorite woods. Most of us have used hammers with hickory handles – and those hammer handles are genuinely hard but feel so good in your hand. Even more of us have used hickory to smoke our food or eaten hickory smoked food purchased at the grocery. Few things taste better than hickory smoked food – especially hickory smoked bacon.
I find hickory is a beautiful wood to use for furniture. It has a unique mottling with very pronounced colors. Hickory is not the easiest wood to work with as it is prone to cracking when it dries and it is fairly common to find hollows in the trees or insect infestations that leave tunnels in the wood. But if you work around these issues and are willing to spend the time in the woods cutting and then milling the lumber, hickory makes some fine looking projects.
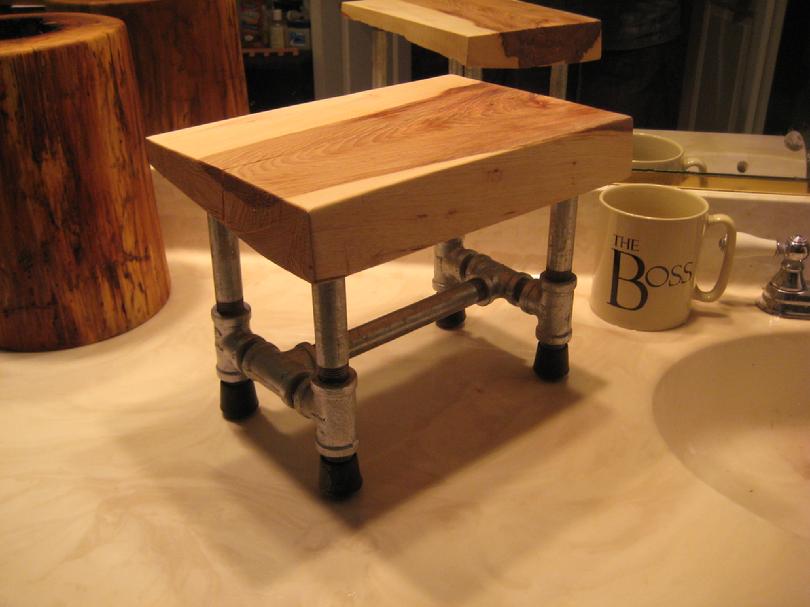
On this page, I am describing a DIY stool I made using a piece of hickory that caught my eye and a bunch of 1/2″ galvanized pipe. The stool is 12″ long, 8″ wide and just under 9″ tall. You can assemble the stool in about an hour. How long it takes to find the wood you want to use and how long it takes to dry and prepare that wood is up to you. The same is true with finishing the stool as you probably want to seal and protect the wood and the choice of materials and method will drive that time. But the carpentry part is easy and quick.
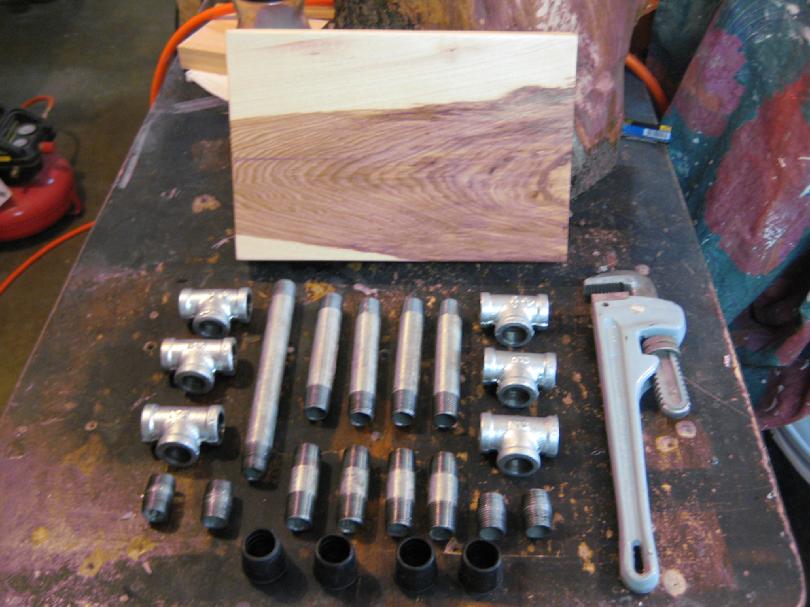
You will need the piece of wood you want for the seat and a variety of steel pipe fittings and nipples. For this stool I used 1/2″ galvanized pipe – 6 each T-fittings, 4 each 5″ nipples for the upper legs, 4 each 2 1/2″ nipples for the lower legs, an 8″ nipple for the cross brace and 4 each 3/4″ crutch tips for the feet. You need a pipe wrench as it is really important to get the joints tight.
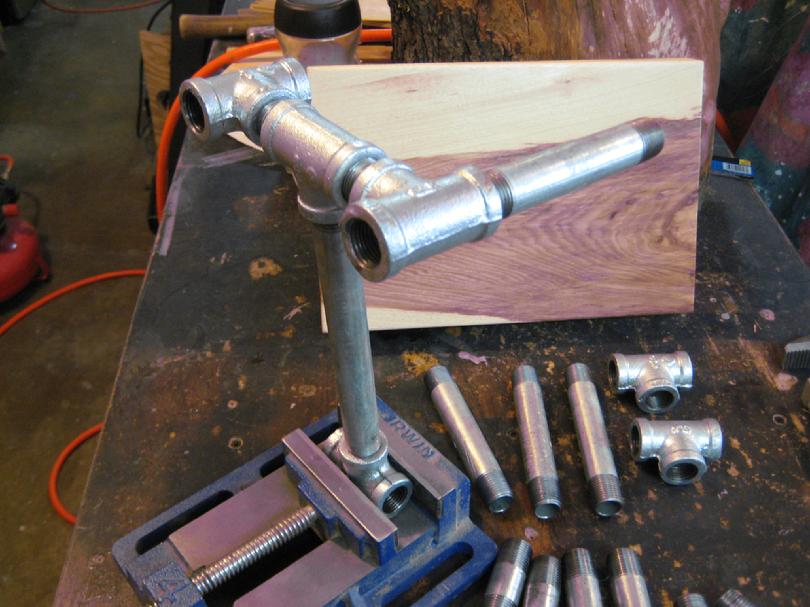
Just start twisting the pipe pieces together – working from the cross brace out. I used a flat machinist’s vise to help me hold the pieces while torquing things down.
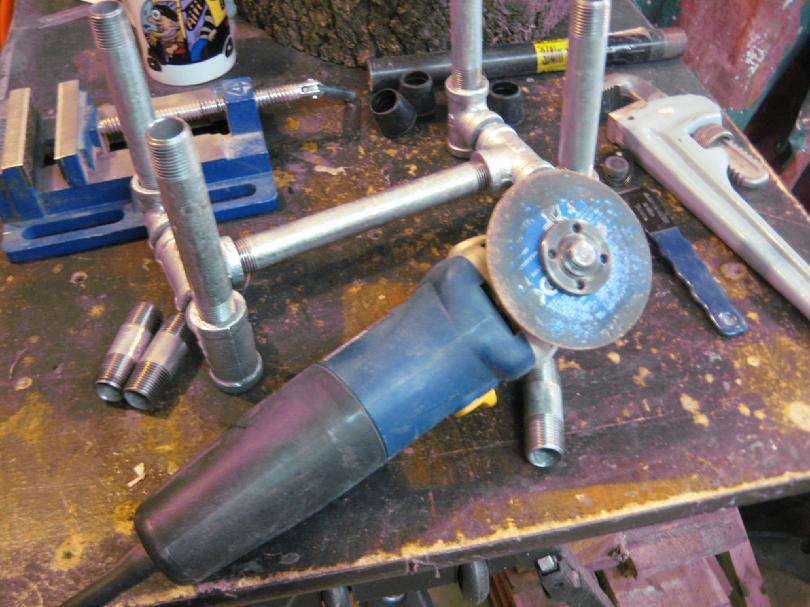
The 2 1/2″ nipples for the lower legs were longer than I wanted, so I used an angle grinder with a cut-off blade to shorten them by an inch. This lowered the cross brace to a level that I found pleasant to the eye.
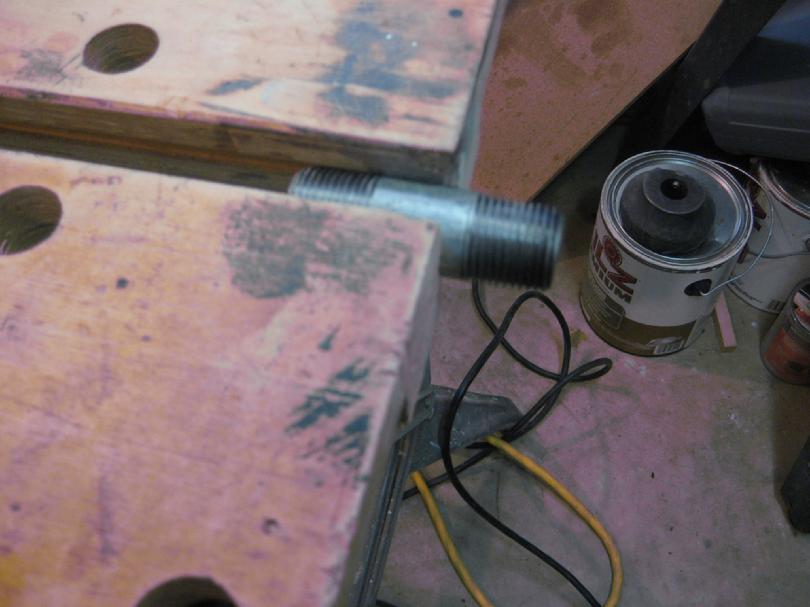
To cut the short nipples, I just clamped them in my WorkMate – any secure clamping arrangement will work. Just cut the nipples to length and then use the angle grinder to smooth the exposed (unthreaded) ends.
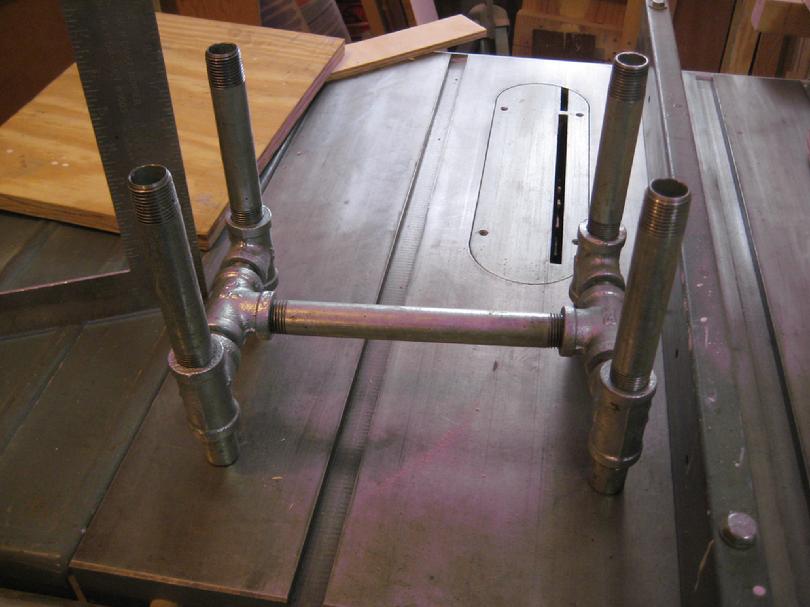
After I got all the pipes screwed together – remember, joints nice and tight – and by that I mean you have to bump them with a hammer to move them – I put the stool leg assembly on my table saw to adjust the legs so that the stool sat flat. Keep at this until there is no wobble.
I used a carpenter’s square to adjust the legs to vertical – more specifically, perpendicular to the flat plane of the saw table top. And then rechecked to ensure there was still no wobble.
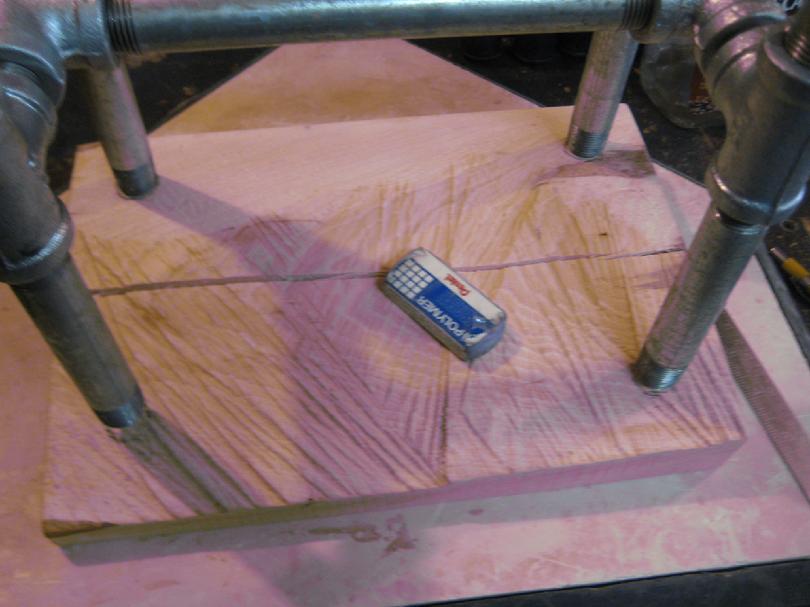
With the leg assembly tight, squared and sitting flat, I laid the stool top up side down and marked the locations where the legs will join the top. This piece of wood varies a lot in thinckness so I had to be certain the leg assembly was square to the flat upper surface of the stool seat before I marked the spots I will drill.
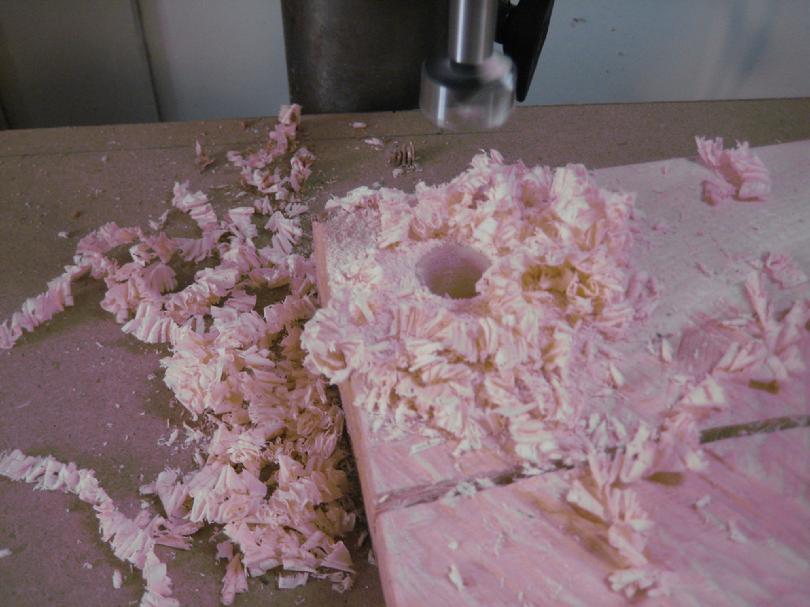
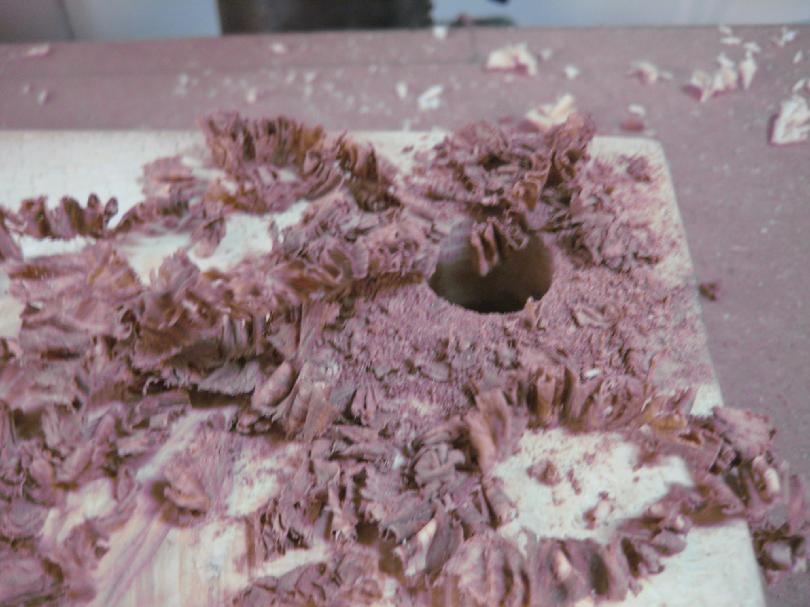
The 1/2″ galvanized pipe is 0.84″ outside diameter. I used a 7/8″ (0.875″) Forstner bit to drill holes into which the legs will fit.
The holes are all drilled so that the bottoms of the holes (the tops of the legs) are a uniform distance below the top of the seat. For this stool, I stopped the holes 5/8″ below the seat surface. Make sure all four holes are evenly bottomed.
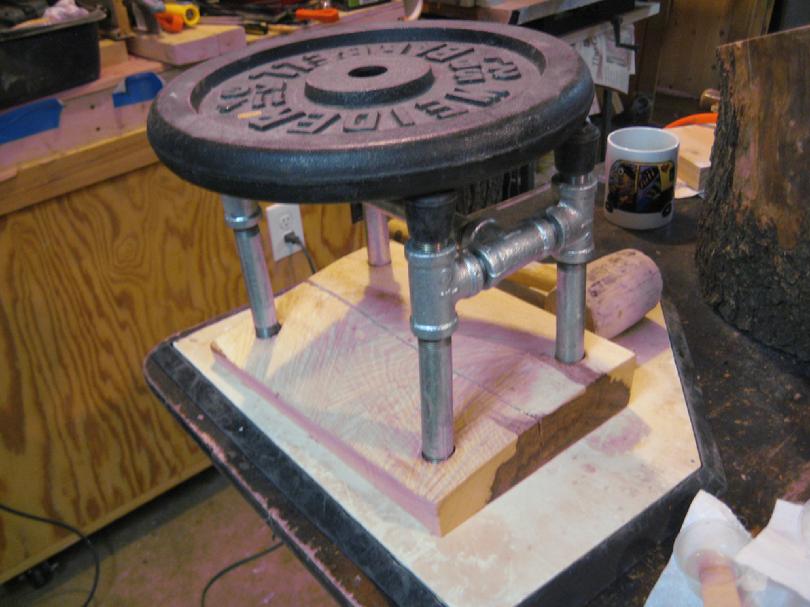
I slipped the crutch tips onto the lower legs and checked the fit of the legs into the holes. Carefully measure the height of the stool on all four corners with the stool standing upright to ensure that the four legs stack to a uniform height. I had to grind one leg as I just couldn’t tighten it as far as the other three legs. Once the height is true, mix up about 2 ounces of 5 minute epoxy. Pour enough epoxy into each drilled hole to fill it about half way. Insert the leg assembly, bump it into place with a mallet and then I used a weight to hold things tightly together while the epoxy set.
After an hour, the epoxy is fully cured and I am on to sanding and finishing the stool seat. I applied a hand rubbed oil finish. You might prefer polyurethane but that is part of the fun of DIY - you get to choose. I will note that if you choose to use a hickory seat and sand it with 220, 320, 400, 600 and 1000 grit sandpaper it will have a hard, smooth surface that is luxurious to touch without any finish applied.